If – like us – you can’t be arsed with poncey protective cases, rubbery skins, plastic covers, Invisi-Shields, OtterBoxes or nobby leather wallets to safeguard your iPhone, it may be looking a little worse for wear right now.
After all, months of making an iPhone rough it in your pockets with your keys, cash, Allen keys, small torches and other assembled bits of mobile man-junk can soon leave Apple’s finest looking a little battle-scarred, so thank ‘eavens for a certain Shenaniganz08.
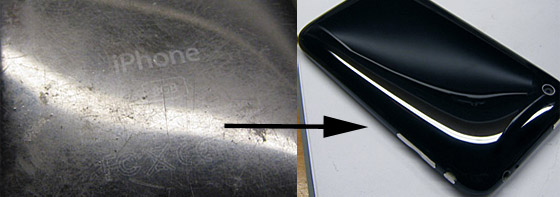
Posting on the MacRumors bulletin board, The Shen has posted up a step by step guide to restoring your precious iPebble from a scratched heap of miserableness into a super-shiny thing of awe-inspiring beauty.
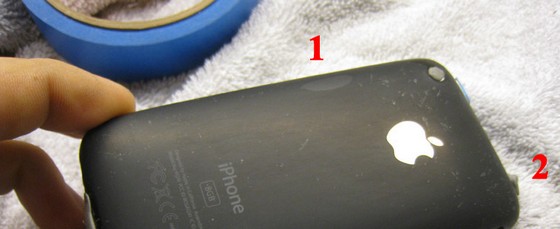
The entrepreneurial Shenza salvaged a trashed iPhone 3G from eBay, and set to work sanding, buffing and polishing the thing back to life – and the end results are very impressive.

You need to know your rubbing compound from your power drill to get the job accomplished, but S-Lo has detailed each stage carefully, including photos to guide your nervous hands though the process.
Here’s what you’ll need:
• Sandpaper 320(or 500),800,1000,1500,2000,2500,3000 grit
• 3M Rubbing compound
• Machine Polisher ( Power Drill or small buffer)
• Microfibres
• Sticky tack and or tape
That list looks lengthy, but half of it can be bagged in one go with the $11 3M headlight restoration kit , and any old drill will do for the buffing t’ing.
If this is the kind of challenge that appeals to you, click here to get the full instructions, but before you start buffin’ and a-sandin’ all over your iPhone, but sure to heed S’Nana’s warning:
If your phone only has a few light scratches, only use the most aggressive sandpaper you have to, in order to remove the scratches. My recommendation is that you try to remove 90-95% of scratches without trying to remove 100%. This way you keep the scratch-resistant coating, which will protect from future scratches.


